Many people have been interested in the quinoa chapati recipe. I make those very frequently but adding little amaranth flour (another gluten free grain ) makes rollng these chapatis so much easier, they look and taste the same. And they are so goood!!!!! So try this variation and let me know what you think. I personally love and prefer this version.
Ingredients
- 1/2 cup quinoa flour
- water ( add slowly till the dough starts to come together and then forms into a smooth ball)
- 1 tbsp. amaranth
- little quinoa flour or even arrowroot flour to roll the chapatis
- Little ghee or butter to apply on the chapatis and also knead the dough
Tools
- Rolling pin
- Marble or wooden board
- Cast iron or non stick skillet
Method
- Knead the dough adding little water at a time to the flour and rubbing it between your fingers.
- Continue to add the in small quantities till the dough starts to come together and is not very wet.
- The dough is ready when it starts to peel off your hands (quinoa flour is little sticky so you need to use the oil to get the flour off your hands but adding amaranth flour makes it lot easier)
- Make a round ball and let it sit for half an hour or more.
- Divide this dough into 6- 8 balls of equal size. Meanwhile heat a seasoned cast iron griddle or nonstick skillet.
- Roll the ball between both your palms and make a smooth ball.
- Roll the ball in dry flour and with a rolling pin carefully roll it out an inch or two and carefully peel it off the board and roll it in dry flour again.
- Carefully continue to roll and repeat the above step till you have a circle of 3-4 inch diameter of even thickness. Use a spatula and carefully peel it off the board.

- Do not be disheartened if the chapati does not come off the board or tears while doing that. Few attempts are necessary before you get nice soft, smooth chapatis.
- Put the rolled chapati on the heated griddle ( it should be on medium heat )
- After 20 seconds or so when the chapati loses its wet look, turn it on the other side, let it cook for another 20 seconds and you small bubbles turn it again, if the chapati is rolled evenly and without any tears it will puff up (may puff up partly).

- Use a paper towel or a clean dish towel to press the thicker edges so that they are well cooked .
- Normally a traditional whole wheat chapati is cooked in the 3 steps described above but quinoa chapati needs to be turned more than few times before it is well cooked.
- Once cooked, you may apply butter or extra virgin olive oil, or ghee and wrap in a soft cheese cloth so that they stay soft .

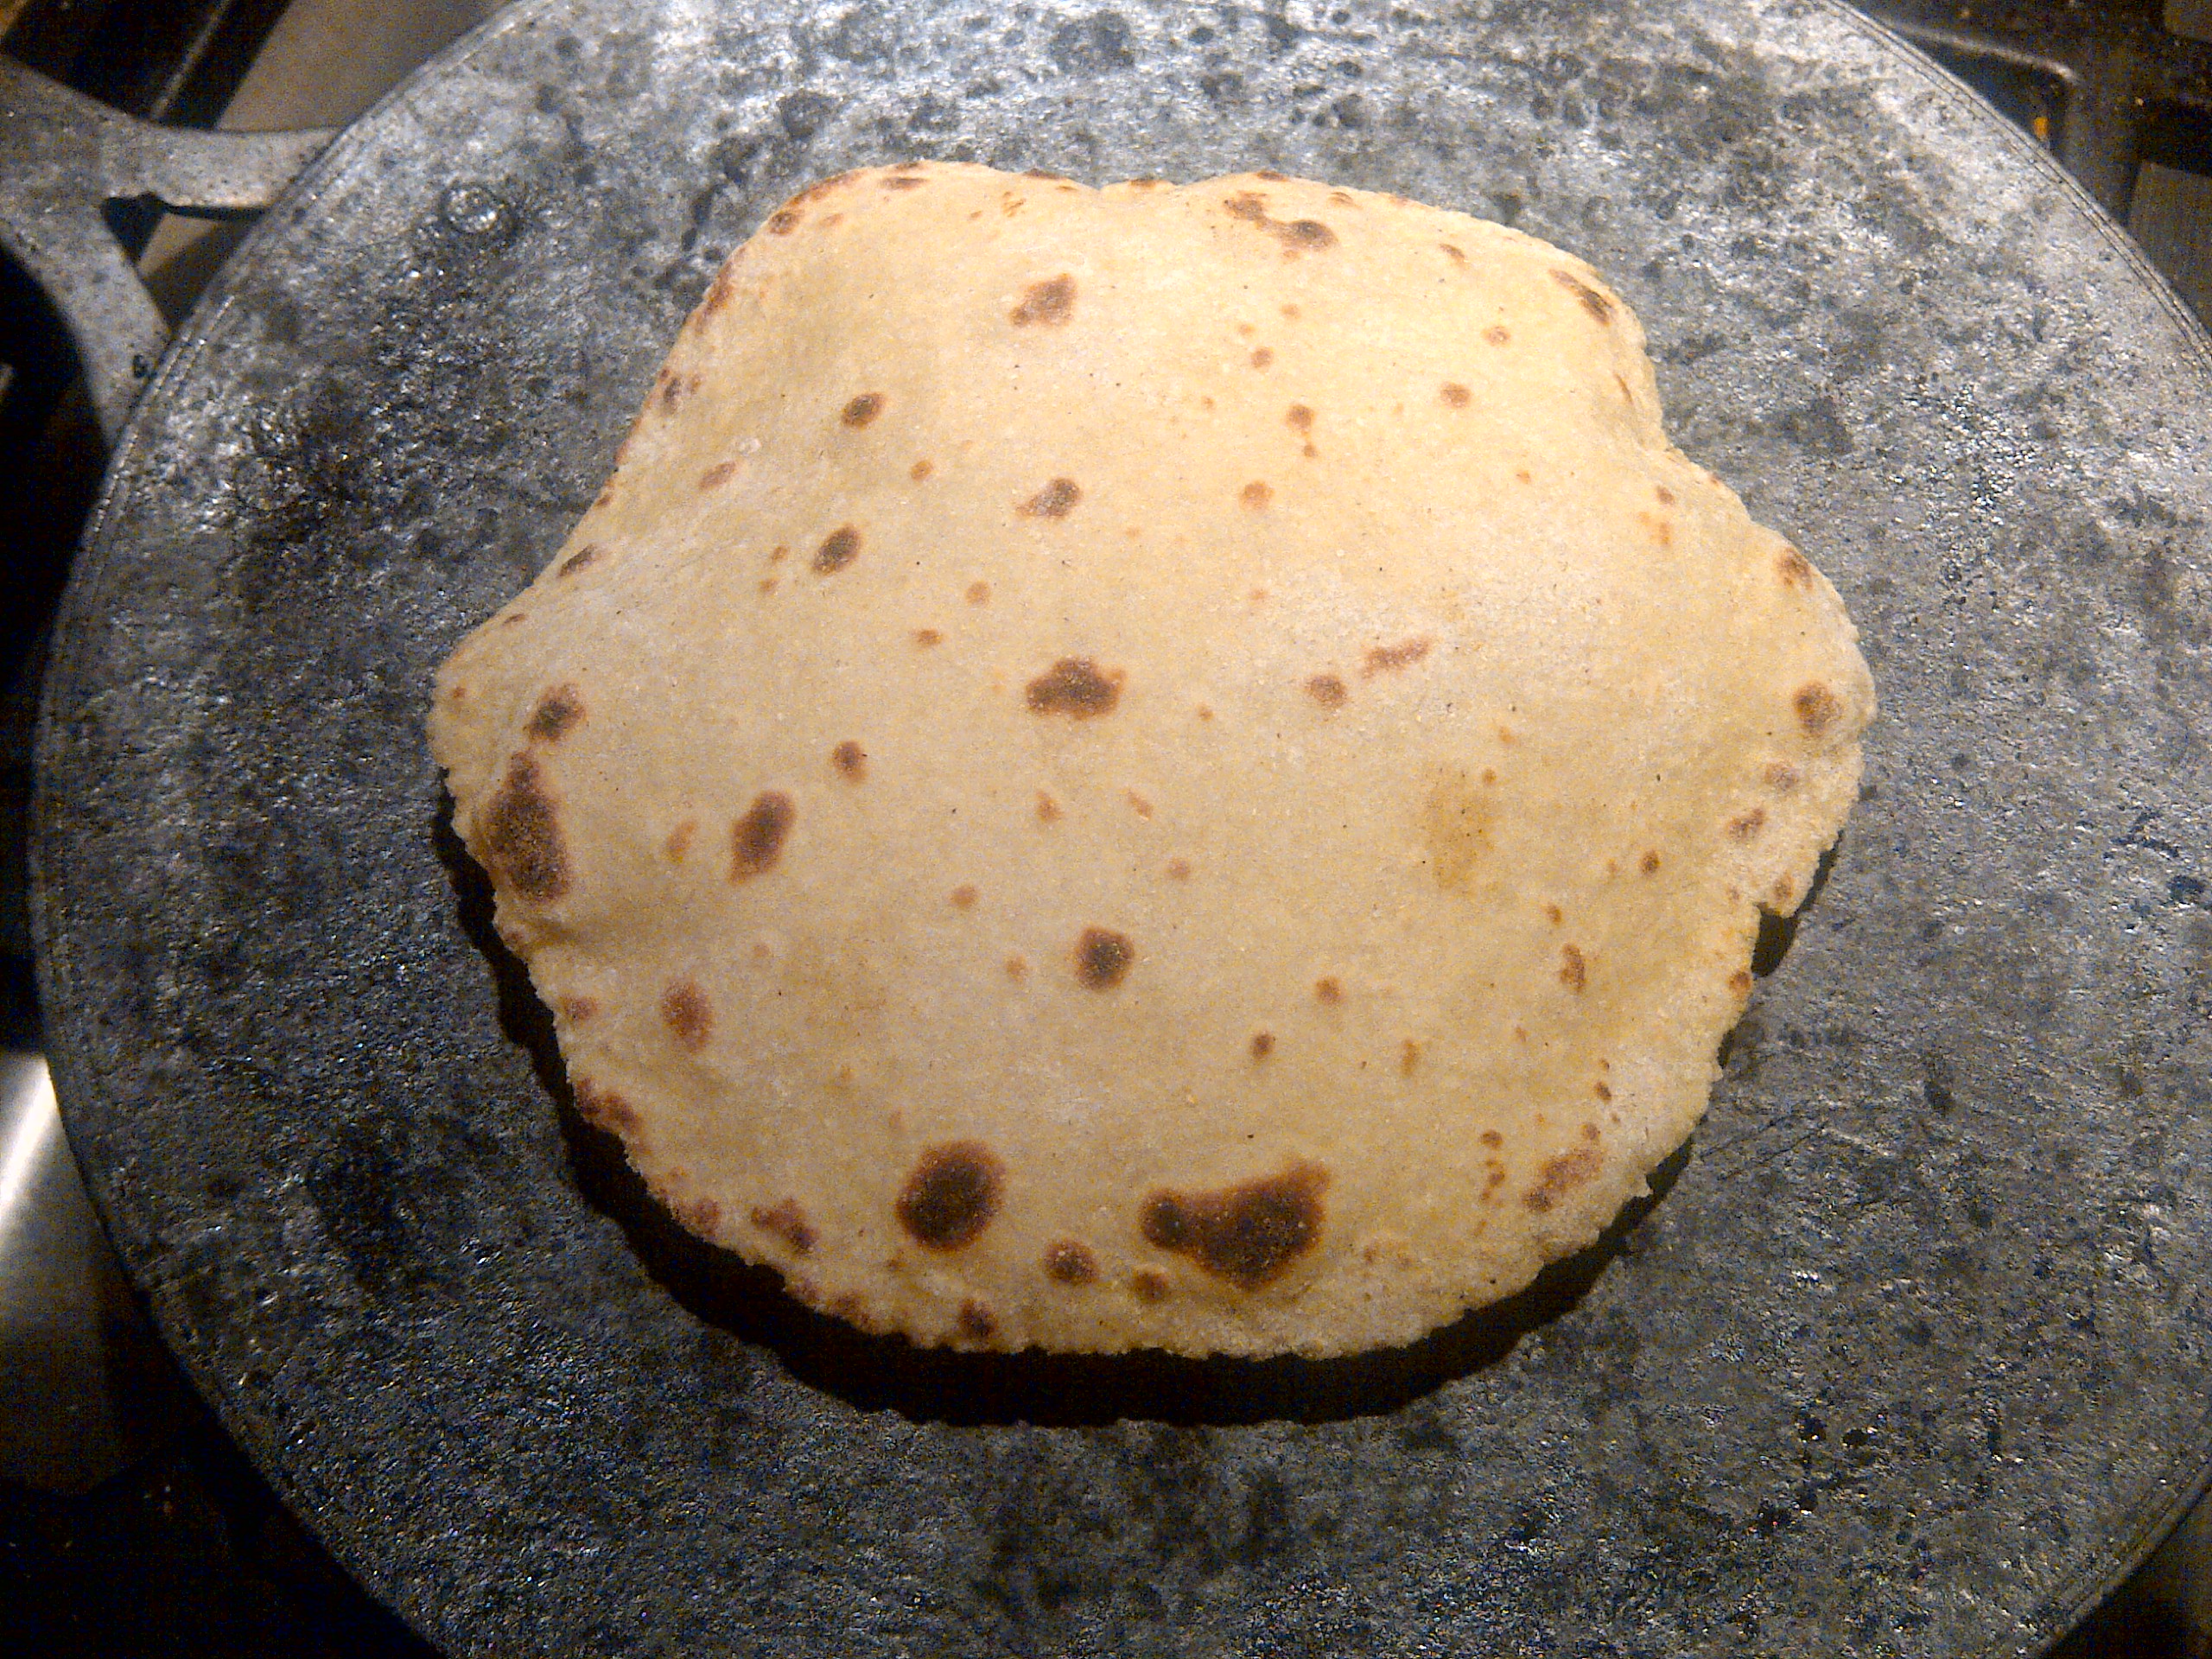
Enjoy !!!
![photo[1]](https://greenzgrains.wordpress.com/wp-content/uploads/2014/01/photo1.jpg)
